

What to expect from a pelvic floor assessment
Pelvic floor assessments can be so vital in helping you figure out your symptoms and preparing for or recovering from birth… but some people find them a bit daunting.
This post goes into detail about exactly what you’ll experience from an intra-vaginal, pelvic floor assessment.
Just a quick note… this is how I personally conduct assessments. It might be different with a different provider.
Also, this post details a vaginal assessment. Sometimes, a rectal assessment is helpful, stay tuned for a post on that!
- I always perform external assessments (posture, functional movement, hips, spine, pelvis, feet) prior to an internal pelvic floor assessment.
I like to think of it like… starting from a zoomed out view of your body and zooming into more detail.
- Before a pelvic floor assessment, I will explain why we are doing it and what I’m looking for.
It’s important to me that all of my patients are involved in their care. So I’m always educating you on why your pelvic floor would be helpful to assess.
- I always ask whether you are comfortable with the assessment that day. I also gain consent throughout the whole process. You are in control and you have the final say!
- Next, I’ll set up my table for the assessment, show you how to position yourself, pull a privacy curtain, and step out so you can change! You just remove your bottom layer of clothes and cover up with the sheet.
- I never use speculums or stirrups. There will only ever be one finger inserted into your vaginal canal.
- You are covered with a sheet the entire time. You are supported with soft bolsters and pillows to help you feel comfortable and safe. I also have big curtains in my room attached to the ceiling, so we are insulated from the door for extra comfort!
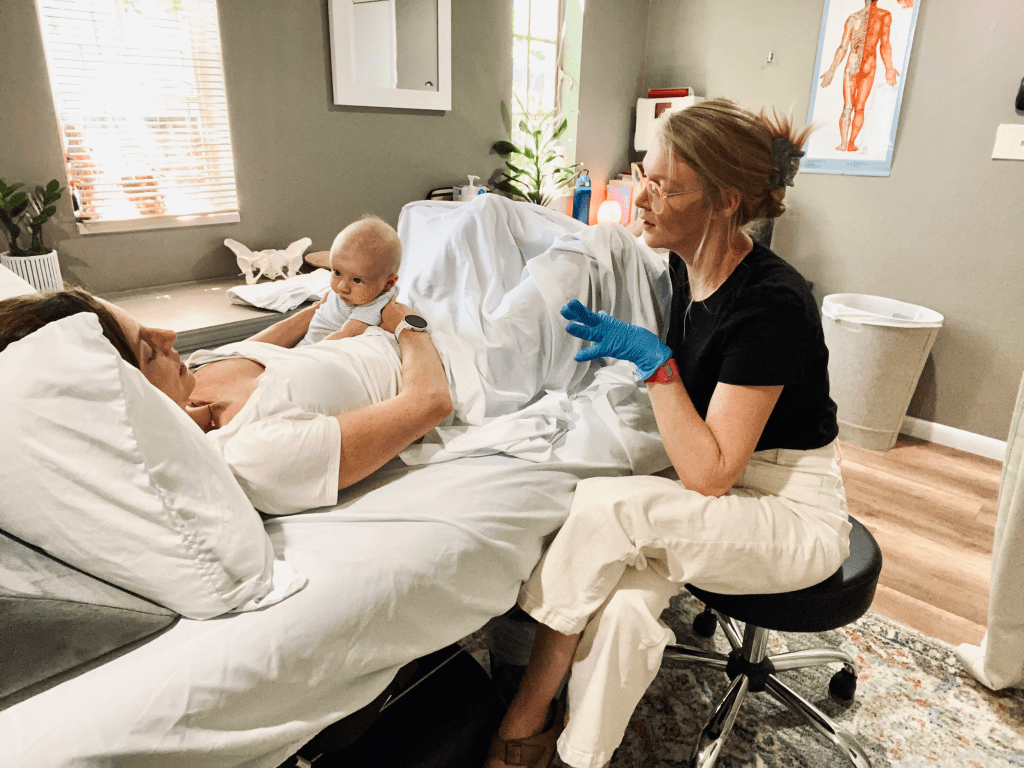
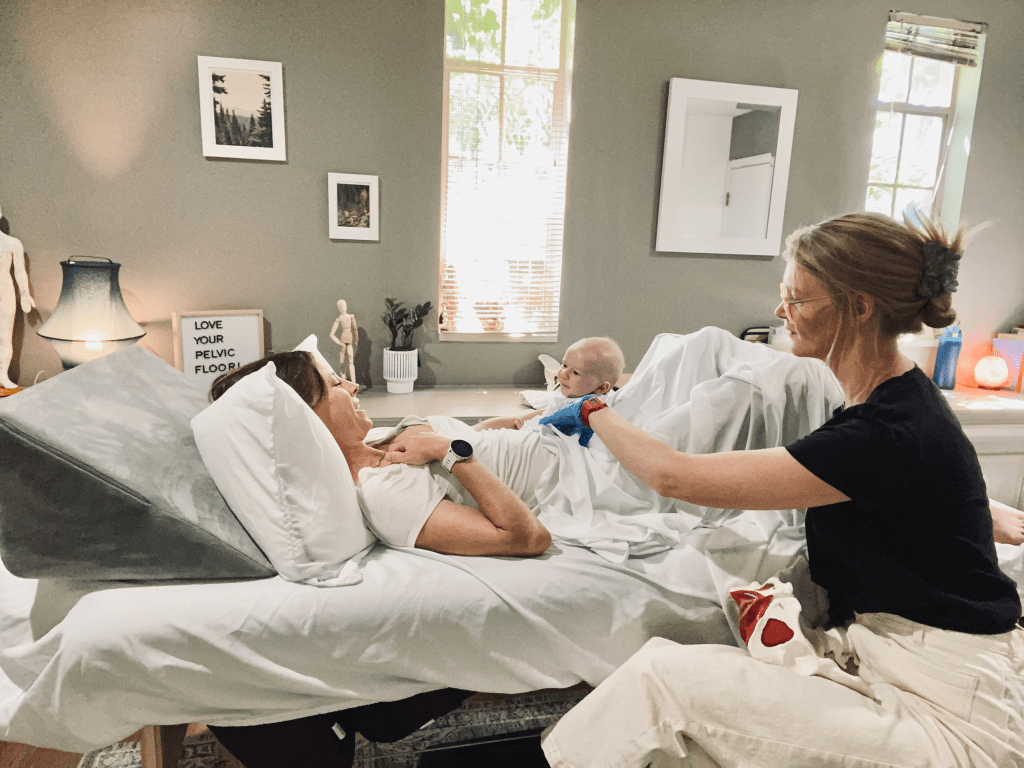
Here is an example of what an actual internal assessment looks like… my patient’s baby was happy to be involved! (Babies are always welcome to join our PT visits!)
- I’ll always sit beside you, I have gloves on and some water based lubricant on a tissue.
- Before starting, I gently touch your thigh to introduce my pressure, and then place two fingers on the outside of your vulva. Depending on your symptoms, I might do an in-depth observation of your vuvlar/vaginal tissue.
- Next, I’ll separate the vulvar tissue and place one finger (with some cold lubricant on it) just at the bottom opening of the vagina (what I call 6 o’clock). Again, I get consent to continue to each part of the assessment and make sure you’re doing okay!
- From this point on, the assessment differs based on what kind of symptoms you have. Usually, I start with a gentle palpation exam of each pelvic floor muscle, to make sure they are at a normal state of muscle tension. If you have tight pelvic floor muscles or pelvic pain, we will start treating them with manual releases, guided relaxation, and breathing tools.
- I’ll always tell you exactly where I’m pressing, what I’m doing or assessing, and ask you how you are feeling.
- Sometimes, I will perform a strength assessment, where I step you through different types of muscle activations and breathing techniques.
- Sometimes, we assess and treat vaginal scar tissue from child birth. Sometimes I perform a prolapse assessment. (We would have talked about all of these at the beginning of your visit).
- And really, that’s it! Usually the whole assessment lasts between 15-25 minutes. After each assessment, I’ll recap what we found and what our plan is to treat your symptoms!
I hope this post is helpful and eases any nerves you might have regarding internal pelvic floor assessments. In a lot of cases involving pelvic floor dysfunction, it’s helpful to continue assessing and treating the pelvic floor internally. Each subsequent treatment has the same setup as detailed above!
If you still have questions, feel free to send a message via our contact page.
Cheers, to gentle and safe pelvic floor assessments!
Sam